Hi everyone! I'm so excited to show you all my technique for achieving a cut crease. I absolutely love this look because I have hooded eyes and it creates the illusion of having more lid space. I am going to create this eye look using only shadows from the Morphe 35w pallete which is absolutely stunning. For this post, I teamed up with a photographer friend and client of mine. She documented me creating this look so that I could have some high quality step by step pictures to show you.
Here we go!!
Here we go!!
Step #1:
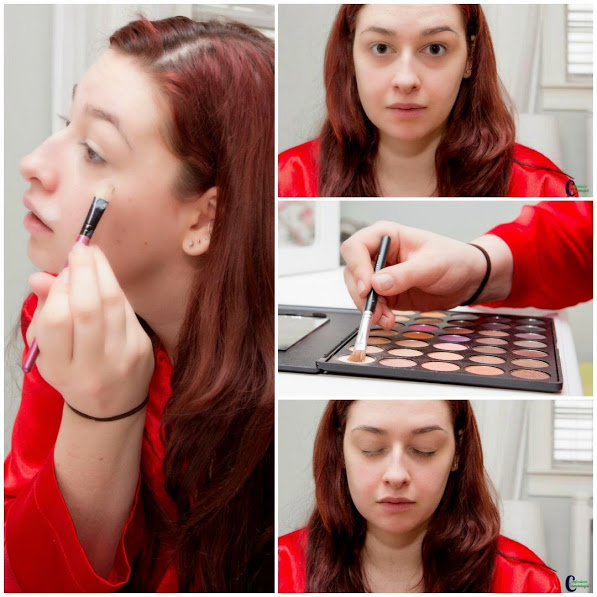
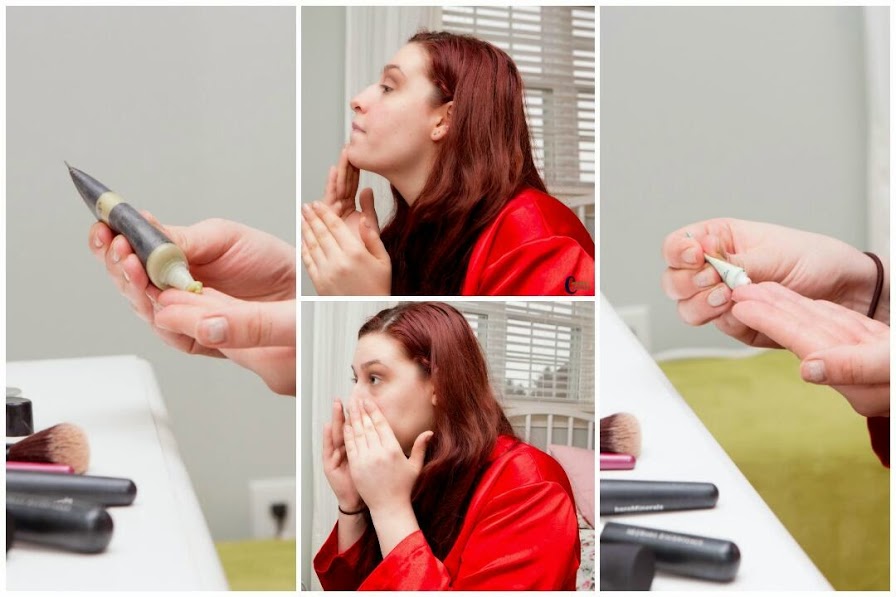
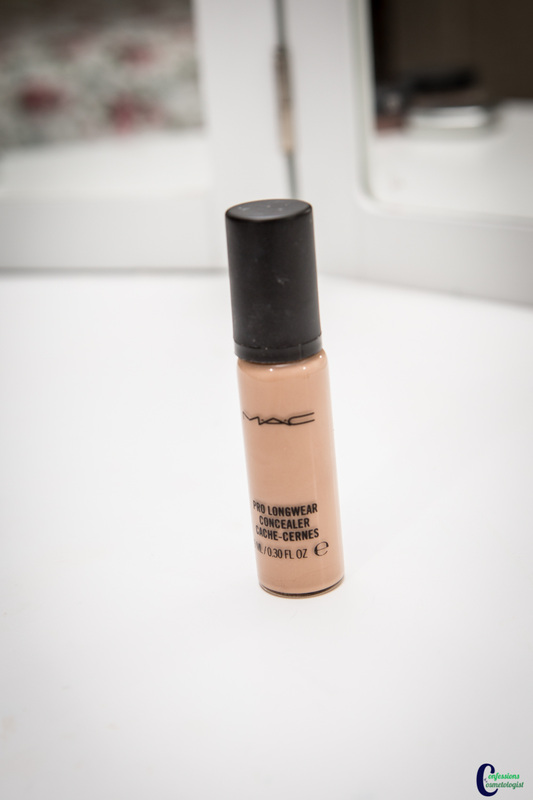
I always begin my makeup by priming my eyes from lash line to brow. To do so I use MAC Cosmetics Pro Longwear Concealer in the shade MC 20 as it is the closest match to my skin tone. I love this formula because it starts off as a very light and smooth liquid before drying to be slightly tacky which creates the perfect base for shadows. Then I set the concealer with the lightest shade in the Morphe Brushes 35w palette (1st row 1st column). The concealer has an anti-creasing formula however, my eyelids are actually fairly oily (weird-trust me I know) which causes it to settle into my fine lines as well as in my crease. Setting the concealer with a bit of shadow helps to prevent this.
Step #2:
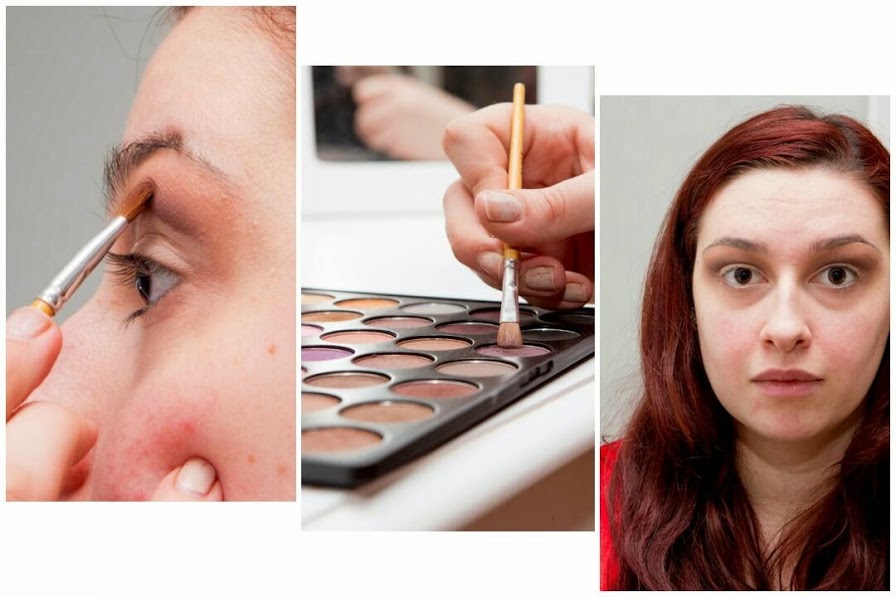
Then I went in with a fluffy dome shaped brush and used it to softly sweep a light beige shadow (2nd row 3rd column) from my crease up to just below my brow bone. I always concentrate the shadow on the outer corner and blend in towards the nose in small circles and windshield wiper motions. This shade serves as a transition color in most of my shadow looks and just makes it easier to blend everything in as you go along.
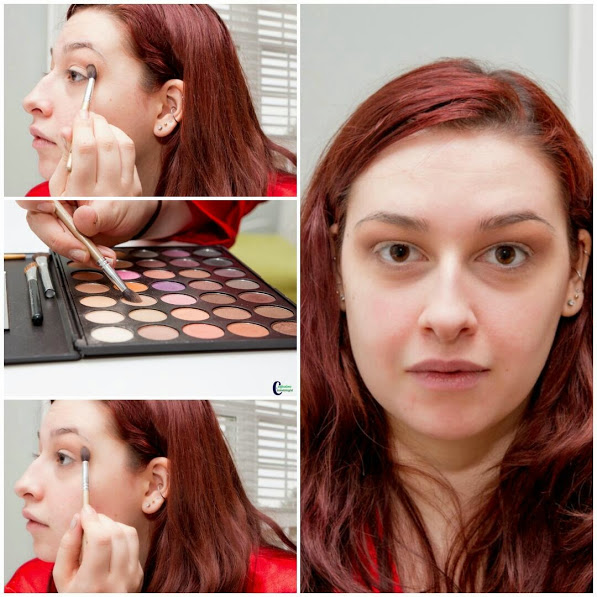
Step #3:
Following the same application technique, I placed a slightly darker beige (row 2 column 6) underneath the lighter tan. You don't want to bring this shadow too high up above the crease because you want to leave room to transition from one color to the next. Also, generally you want darker shadows to be placed closer to the crease and gradually lightening towards the brow bone. I used a denser and smaller brush than before in order to more precisely place the color. After placing the color, I used a clean fluffy brush to blend out the line separating the two shadows. I blended up and out towards the end of the brow again using windshield wiper motions. Using a clean brush ensures that you are not placing any additional pigment on the eye and are just simply blending what is already there.
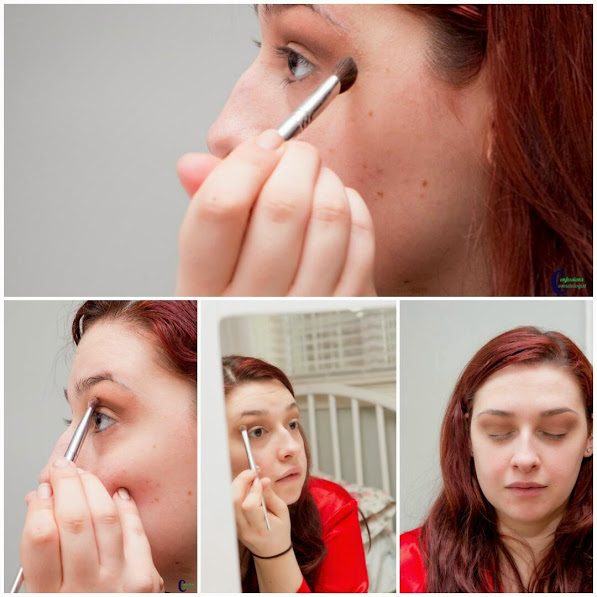
Step #4:
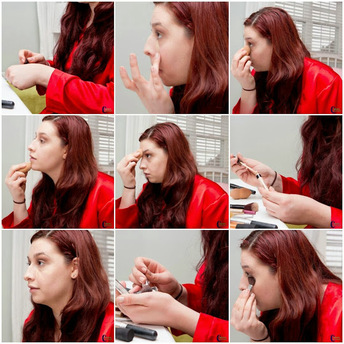
Here comes the tricky part. Using a thin liner brush, you want to create a new crease line slightly above your natural crease. This is what gives the eye a larger appearance and creates the illusion of more lid space (especially for those of us with hooded eyes). For the most natural look, keep the line only 1/8 to 1/4 of an inch above your natural crease, especially when you are first starting out and practicing. I used a dark brown with a plum undertone (row 5 column 5) but anything darker than your previous shadows will do. I find the easiest way to apply the line is to look straight ahead and relax your brows so that your eyes are in their most natural state. This way you can follow the line of your natural crease more accurately. I do not like to bring the line all the way down to the outer and inner corners of my eyes (picture a semi-circle) because I find that technique to be too harsh looking. However, when done well, it can be extremely dramatic and beautiful so play around and see what you can create!
Step #5:

Once you have created your new crease line, take a concealer on a small flat brush and pat it onto the lid underneath the line. This is your opportunity to sharpen your line and fix any mistakes. I went back in with the same MAC Pro Longwear Concealer that I used in step 1.
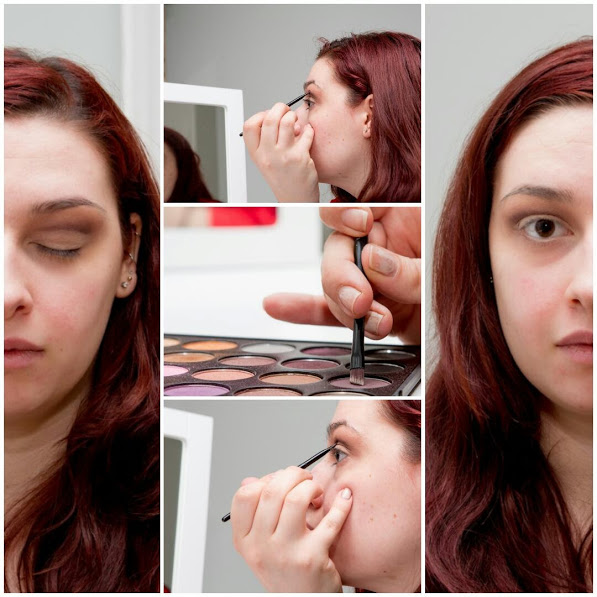
Step #6:
After sharpening the underside of my crease line, I went back in with the same dark brown-plum (row 5 column 5) and blended the line upwards being careful not to get any of the shadow under the line (where we just concealed). This is key to achieving a great cut crease look. There should be a sharp line from lid to crease and then it should softly blend from crease to brow bone.
Step #7:

I then placed a light pink-peach (row 3 column 3) on the lid underneath the crease line. Once again, be careful not to ruin the sharp line of the cut crease. Gently pat the pink onto the lid and blend upwards with sweeping motions until you reach the edge of the line.
Step #8:
 |  |
 | 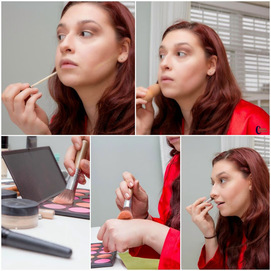 |
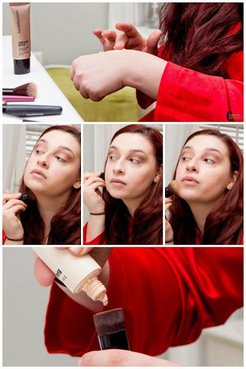
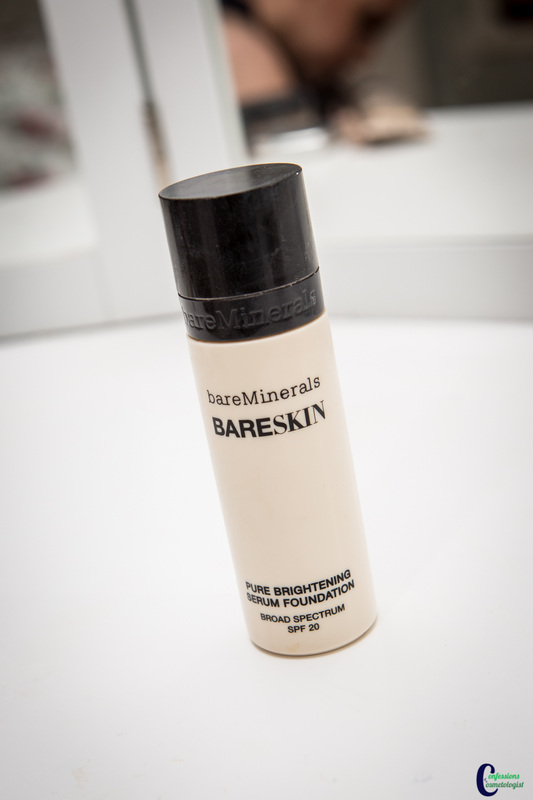
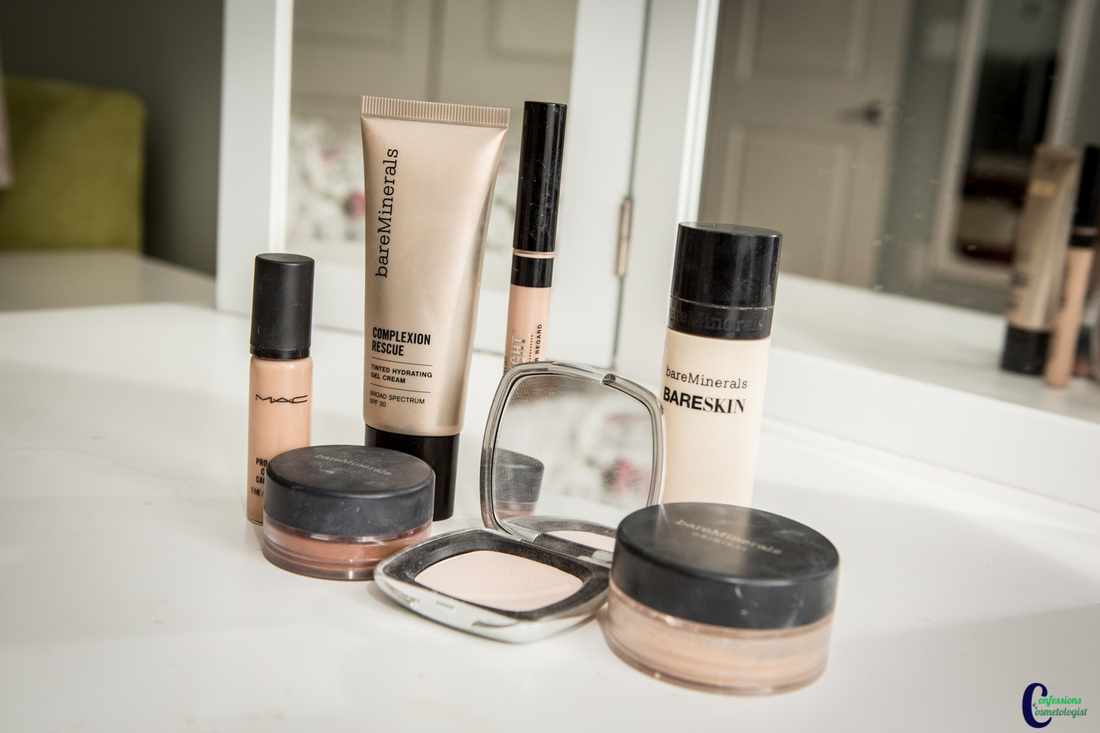
After applying all of my shadows, I move on to my face makeup. Don't worry, we'll finish the eyes in a minute. I am not going through my face routine step by step in this post because we'd be here forever! But basically I applied primer, liquid foundation, contour, highlight, blush, and setting powder. Hopefully, my next post will be a full breakdown of my face makeup routine. But for now, that was just a quick preview.
Step 9:
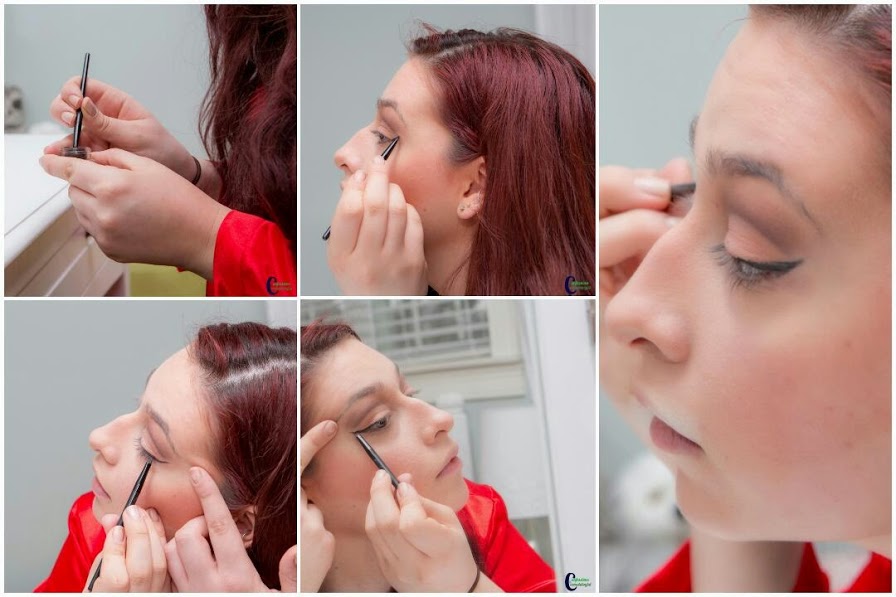
Now back to the eyes! When doing a cut crease, I tend to feel that a winged liner is more flattering as it balances the round lines of the crease with more sharp and angular lines. I start the line at the outer corner of the eye and draw it up towards the end of my brow. Then I bring the line back in towards the lash line, creating a small triangle and filling it in. I never bring my liner in any further than the outer third of my eye. This is because I want to leave as much lid space as possible to combat my hooded eyes. Instead what I do is tightlining, where you apply liner to the waterline of the top lid. I will be doing a tutorial on my liner techniques soon (so, again, stay tuned).
Step #10:
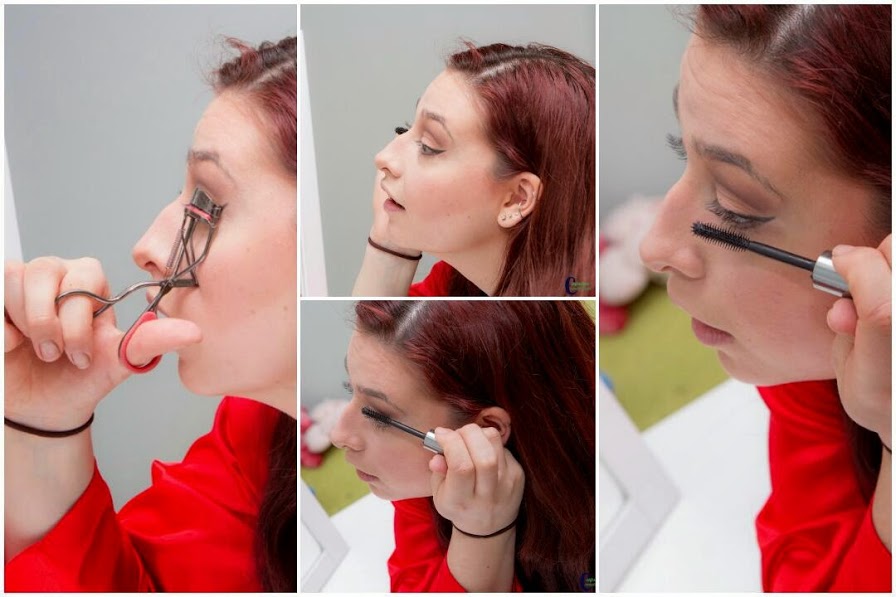
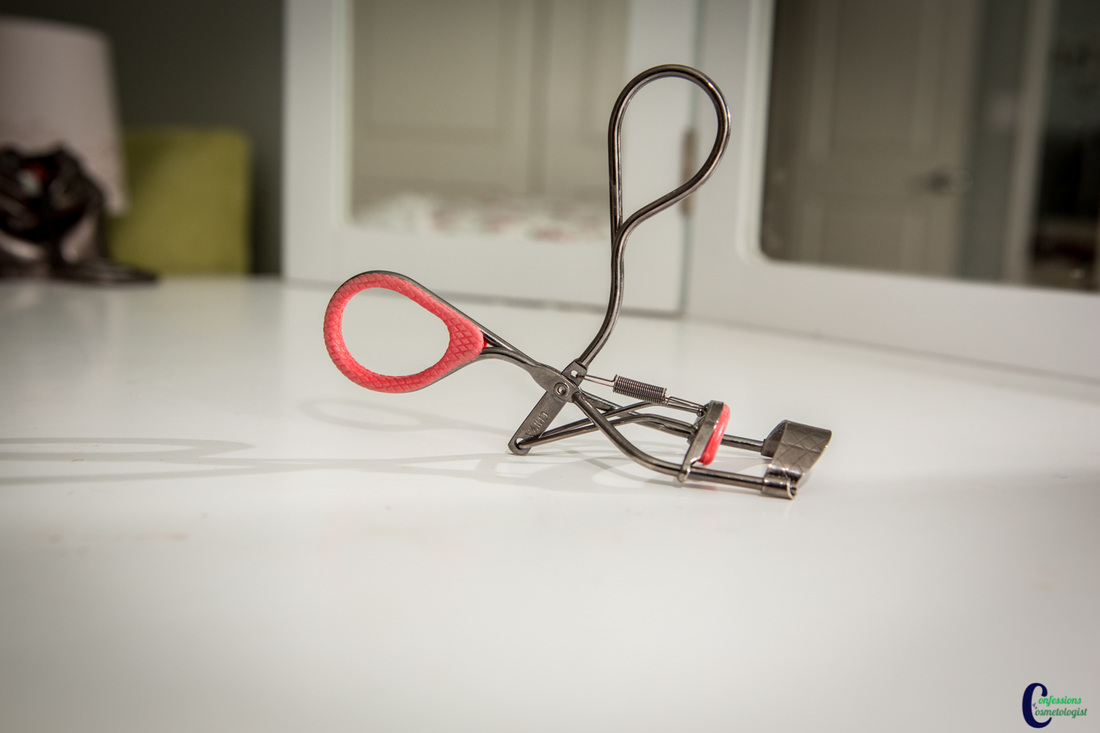
And finally, the last step is to curl your lashes and apply your favorite mascara. Normally, I would either apply false lashes, a few coats of mascara, or use my Younique 3D Fiber Mascara. However, for the purposes of this post, I decided to make my lashes more subtle. This way, in the final pictures, you have a better view of the shadows and the way everything comes together.
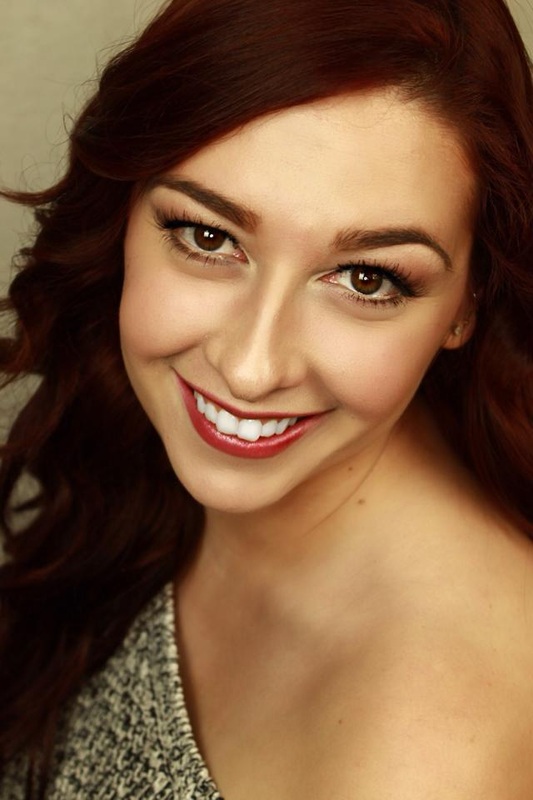
Final Look!

Final Thoughts!
While this technique for creating a cut crease is incredibly effective for me, please know that there are many other ways to achieve this look. I have seen the crease done with kohl eye pencil, gel liner, and cream shadows but I strongly feel that using powdered shadows is the best option, especially for beginners as it is far easier to blend. For a look at some of the products that I used for this tutorial, check out the product gallery below.
Also know that the colors I chose for this look were simply to illustrate the application technique. Please get creative and see what color combos you can come up with! Mix glitters and mattes and neutrals and bolds. The world is your oyster my friends!
And if you do decide to try out a cut crease, please share it with me. Tag my instagram @lg.confessionsofacosmetologist and #confessionsofacosmetologist
Post questions, comments, concerns below. Hope you enjoyed!
Thanks,
Lisa
Also a HUGE thank you so Miss Nicola Richard for these amazing photos.


 RSS Feed
